- Literacy
- |
- Anchor Charts
- |
- Literacy Anchor Charts
- |
- Reading Skills
- |
- Task Cards
- |
- Using Pictures to Teach
Teaching Point of View
By Mary Montero
Share This Post:
I absolutely love teaching point of view! We have been busy working on point of view, and most specifically, on how an author’s point of view impacts how a story is written or told. I loved some of the activities we did, and I’m excited to share them with you!
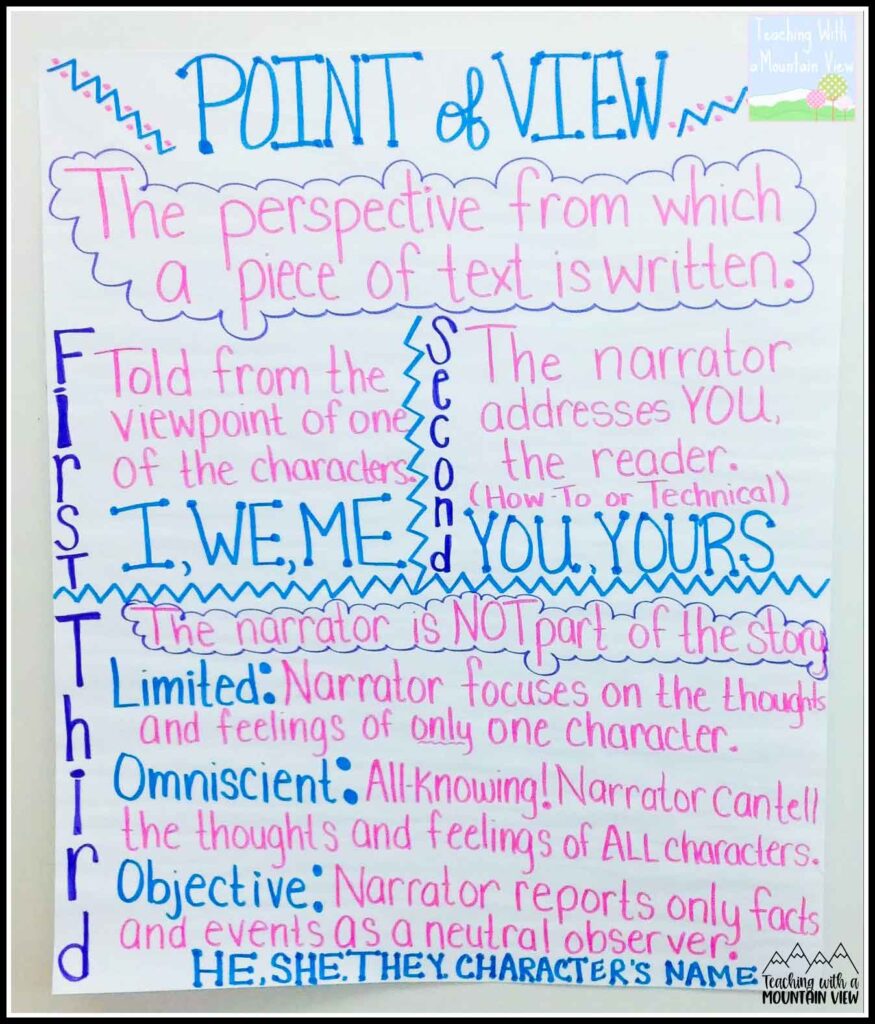
Point of View Anchor Chart
We started the unit by creating an anchor chart together. (Are you shocked!?)
My students had an idea of what point of view was, but they needed to solidify their understanding of the types of third person point of view as well as second person point of view. We have referenced this chart (and the foldable they made) SO.MUCH. during this unit.
Using Pictures to Teach Point of View
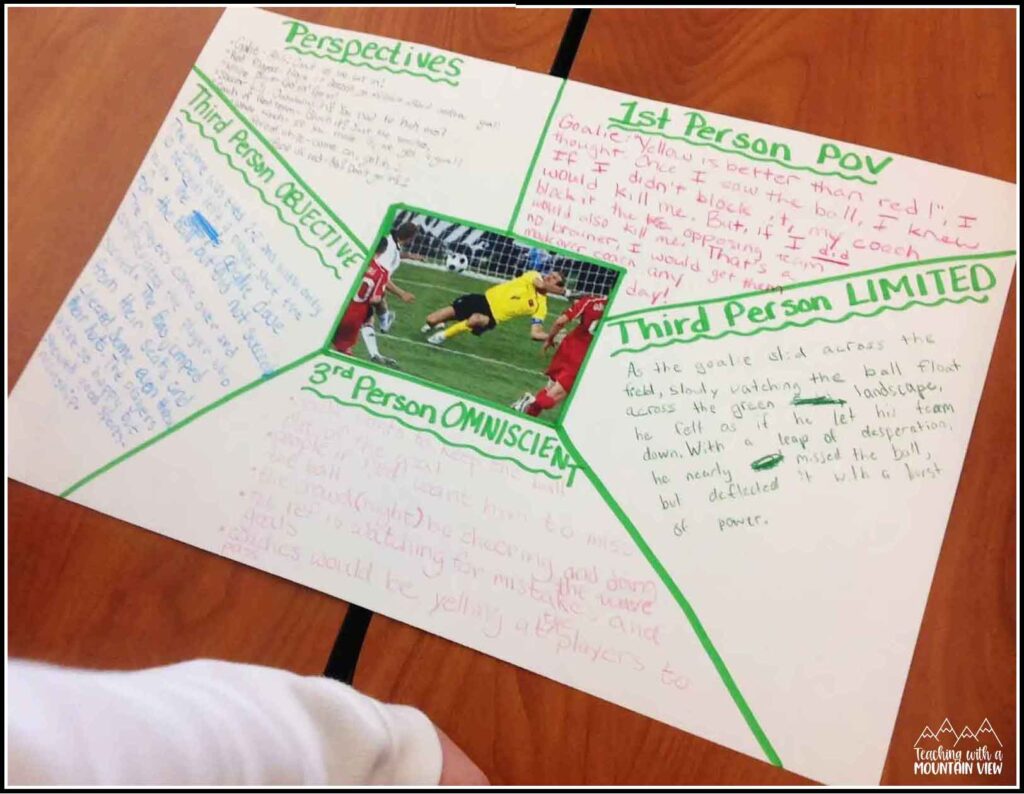
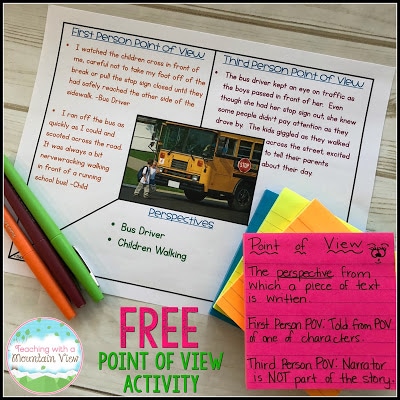
Then, we did one of my favorite activities of the unit! I grabbed pictures off of the internet (I can’t share them here because they weren’t public domain. I typed in things like “learning to ride a bike” and “scored a soccer goal.”) and glued them each to a piece of large construction paper. I separated the page into five different sections. Perspectives, First Person Point of View, and then the three types of Third Person point of view.
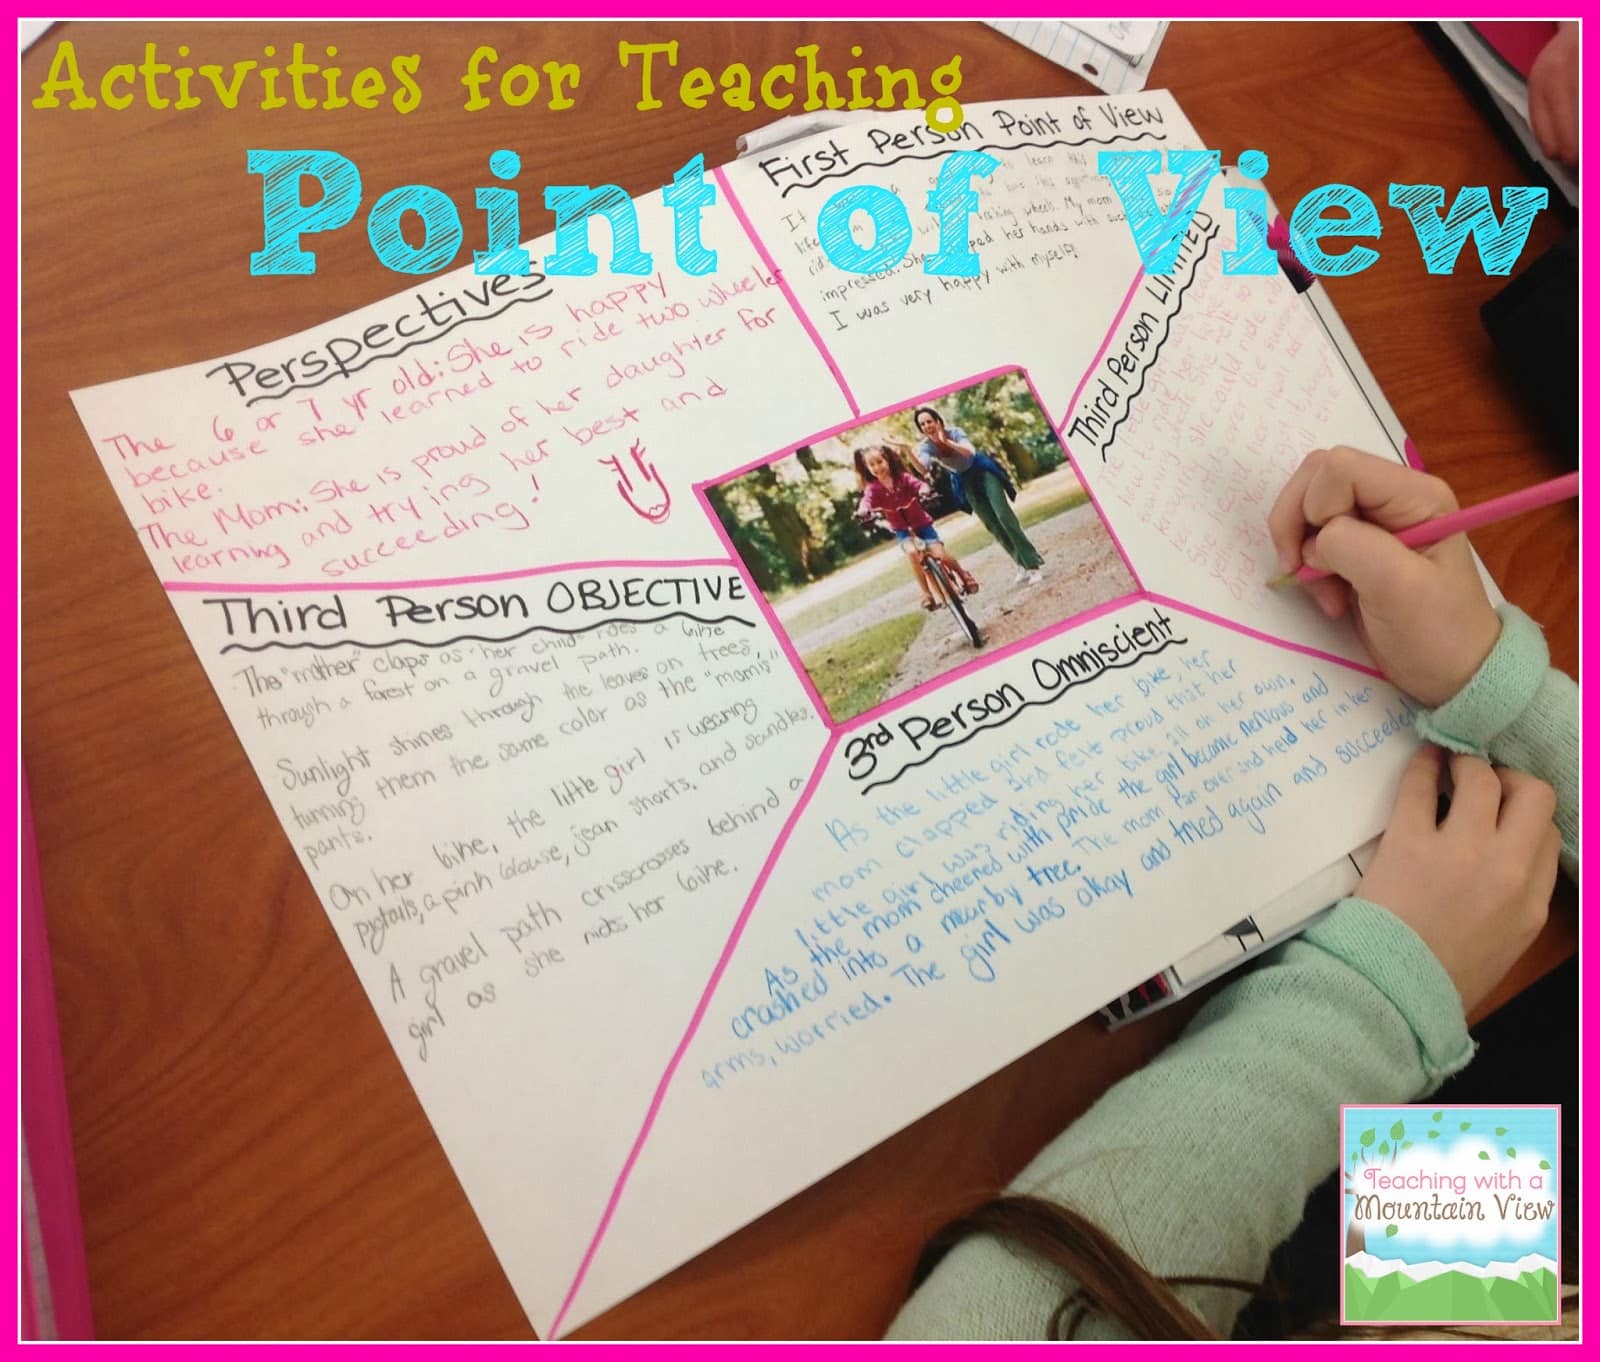
We talked about how similar perspective and point of view are, but that they are still a little bit different. The students got into pairs and were assigned one of the pictures. The first round, they wrote all the different perspectives that were possible in the picture. Then, they rotated to a new picture, and they all wrote a brief narrative of what was happening in the picture in first person point of view using one of the perspectives they had identified. We rotated around until they all had practice writing in each of the points of view. The students truly enjoyed this point of view activity, and it was a good way to help them see the difference between perspective and point of view.
This was a favorite picture for my students. There were some great perspectives here, and they had fun with it.
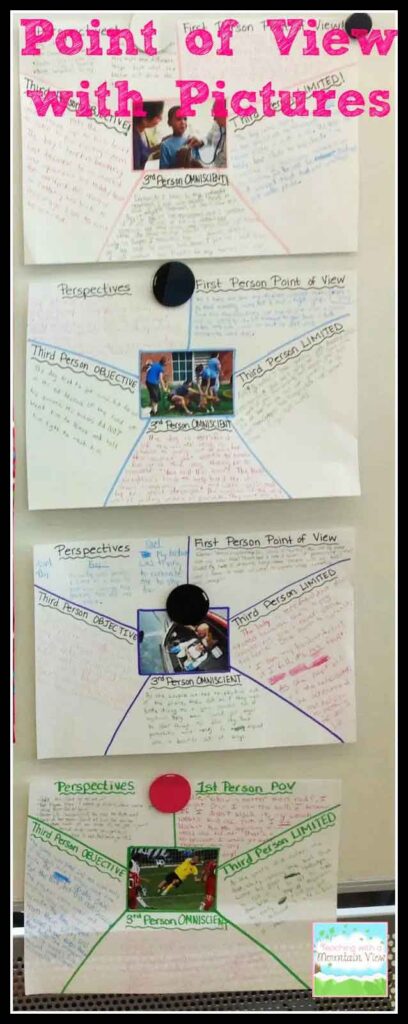
I have created a FREE printable version of this activity! The pictures aren’t the same, but they should still elicit some great discussion! There are two differentiated versions as well as Google access. Enjoy!
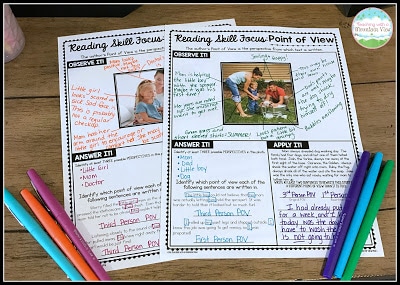
I recently created a new resource to use after they had worked through this collaborative activity. I have had such great success with teaching reading skills with pictures that I created a resource that incorporates pictures with reading skills. For our point of view unit, here are the two that we did together. There are three more in the packet that they worked on individually and during reading rotations. You can view the complete Using Pictures to Teach Reading Skills packet here.
Using Video Clips
Then, I did some work with small groups. We used a short (53 second) clip from Toy Story (You can see it on YouTube HERE). We watched it several times, and we discussed the different perspectives that each of the main characters in the clip had. Then, we did some more writing, and we rewrote the scene in first and third person. For kids who were still struggling, instead of generating the words, I quickly wrote paragraphs for them to identify the correct point of view and perspective. It was an easy way to differentiate, and it helped drive home some ideas about how different points of view and different perspectives can have an effect on how a story is told.
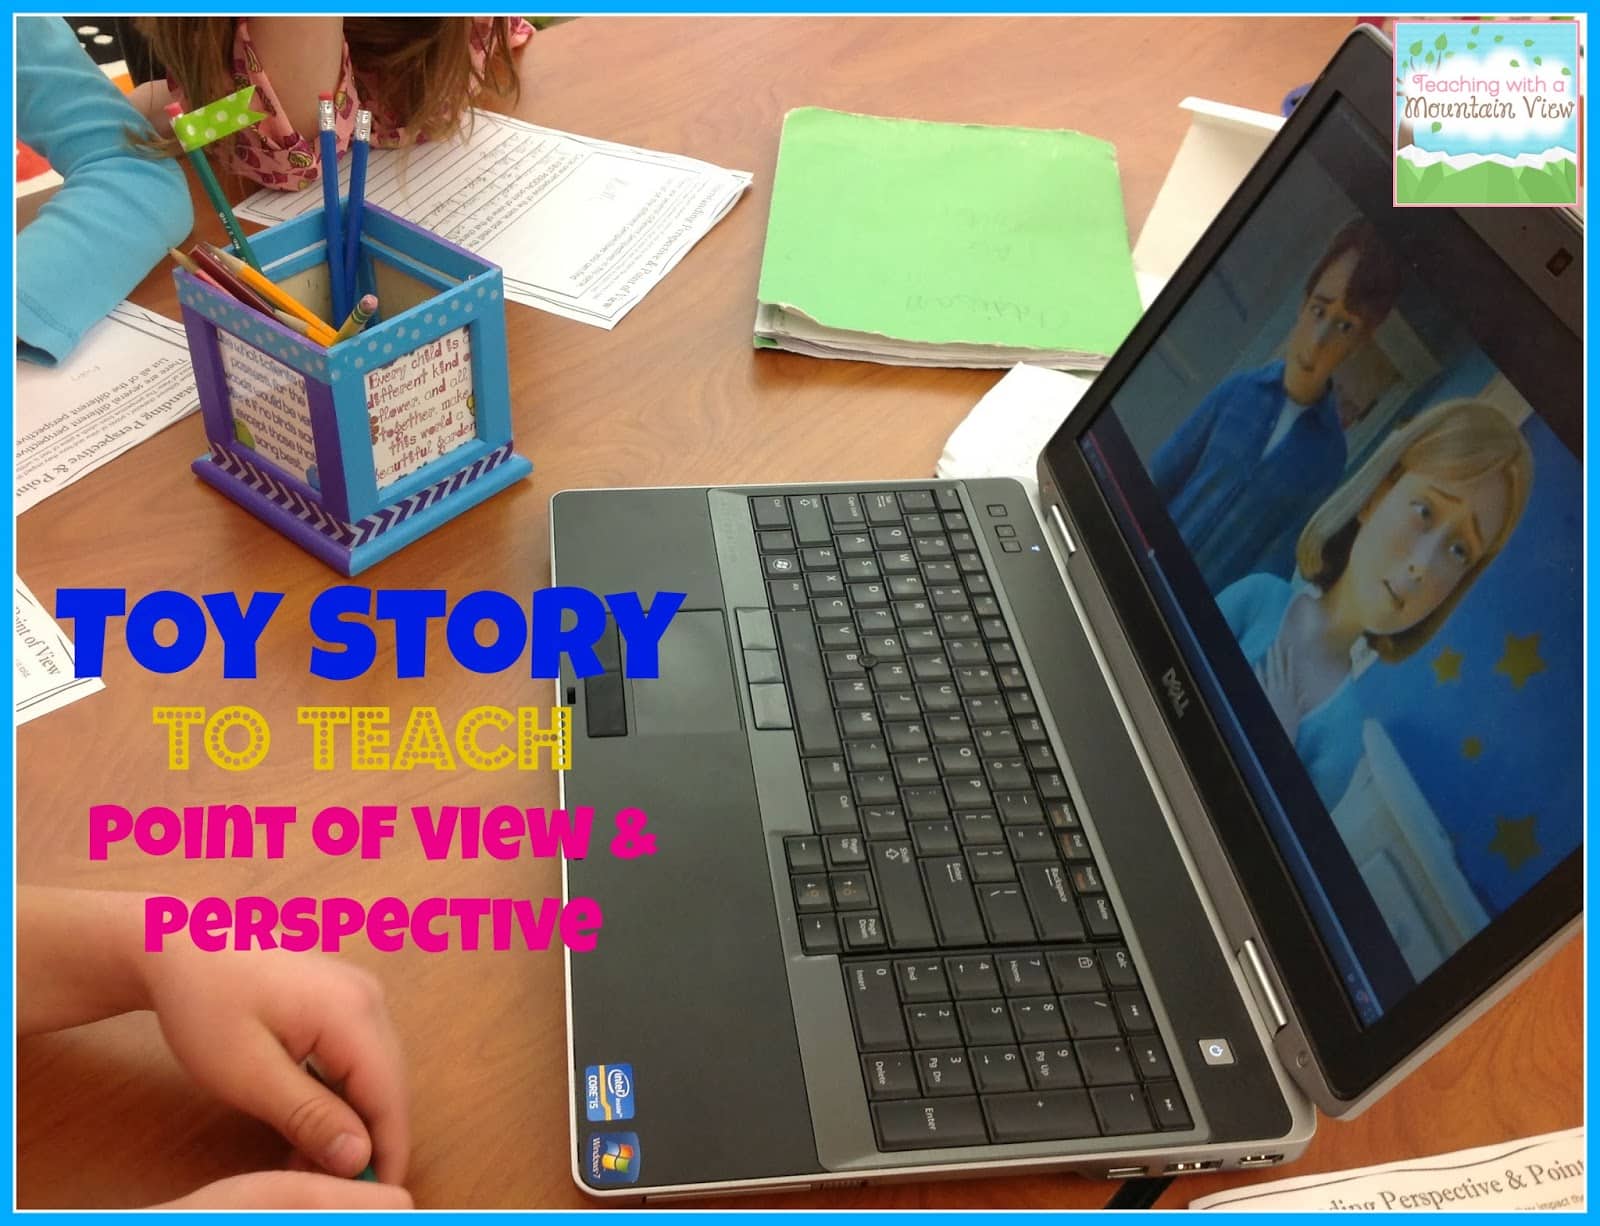
Enter your email to download the differentiated pages for free. You will need to watch the clip with your class in order the use them.
Perspective Activity
**This year, I added in a new activity during small groups that was just amazing for getting students to see how different perspectives can influence a writer! I purchased a few copies of the short picture book Voices in the Park (click the affiliate link to see it on Amazon!). This book is just absolutely phenomenal. It follows four different individuals during their day at the park. There is the grouchy lady, the shy and lonely young boy, the happy girl, and the sad man. They each share their perspective of their time at the park– all of which, of course, are very different. It is a quick read, but so rich in detail. We read it all together, and then the students completed a super brief graphic organizer that helped them to see the different perspectives and how they were all woven together. You can download the accompanying sheet for free HERE.
Task Cards
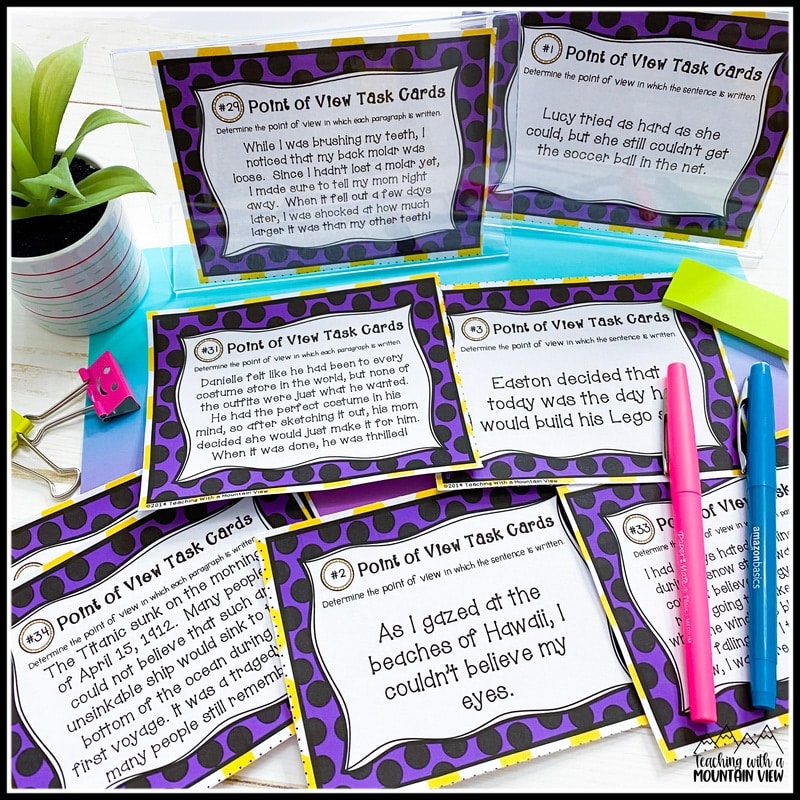
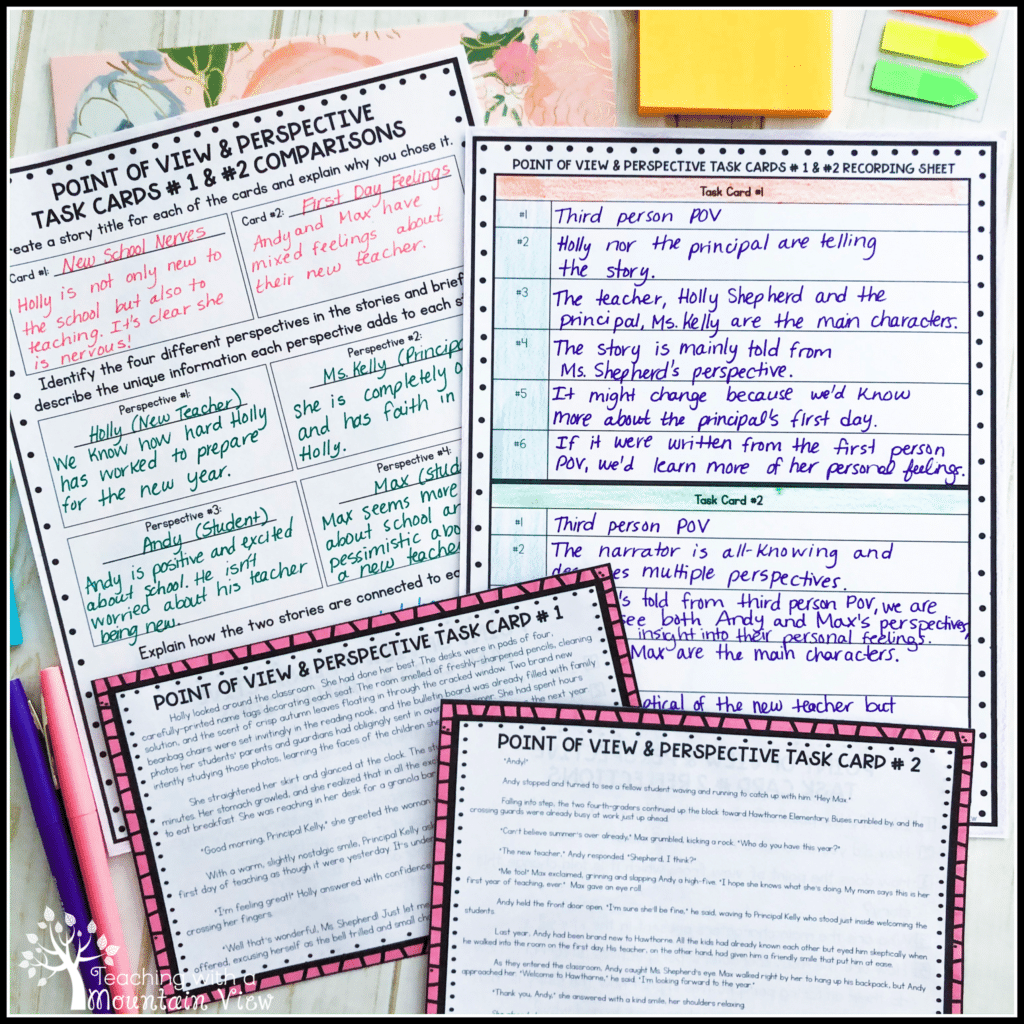
We had a 20 minute block of time to use some task cards, so I pulled out my Point of View Task Cards, and we got busy! We actually used them with board games, and the kids had a blast. You can read about how I used board games with task cards over at my Task Card Blog, but here is a look at the task cards. They are differentiated, and you can use them for different proficiency levels, or for scaffolding. One set includes simple sentences, another includes paragraphs, and the last set includes types of writing, and students must identify the point of view from which it is most likely written. Each group turned in a recording sheet, so it was an easy way to assess where they stood. These cards generated some great discussion in class!
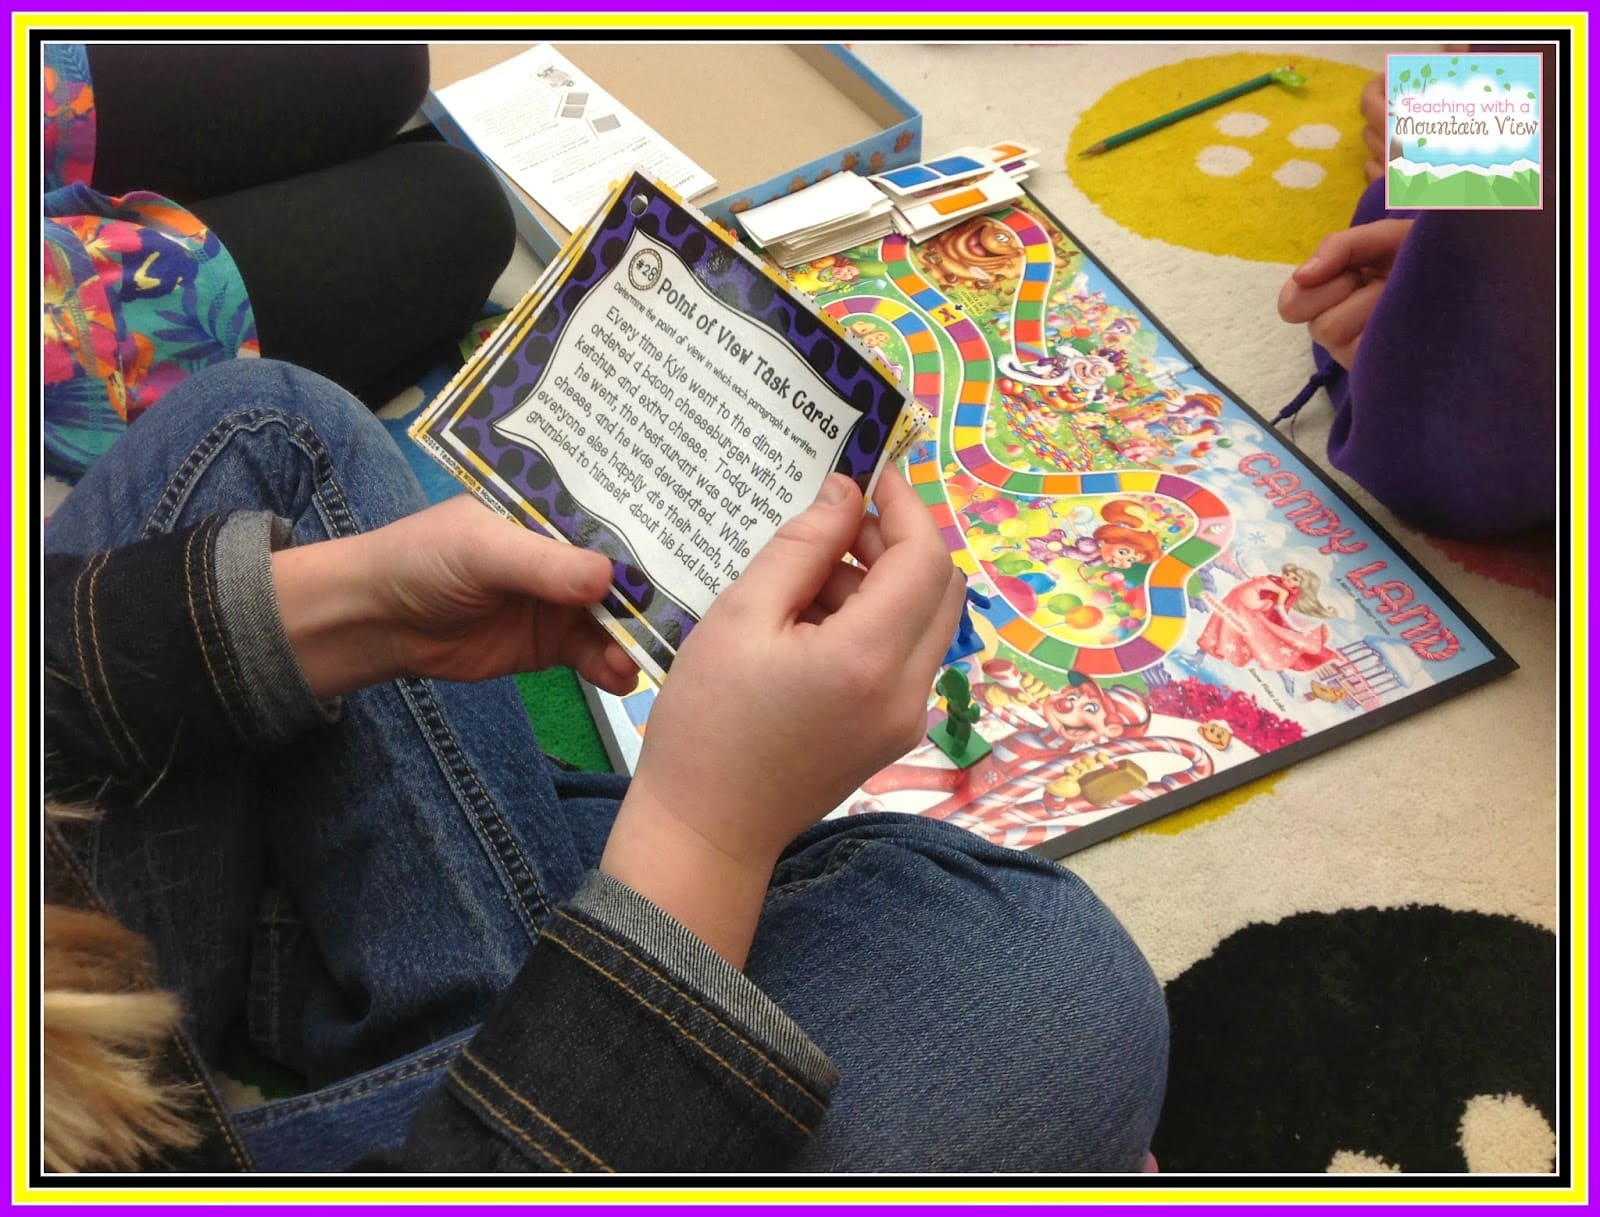
More Point of View and Perspective Resources
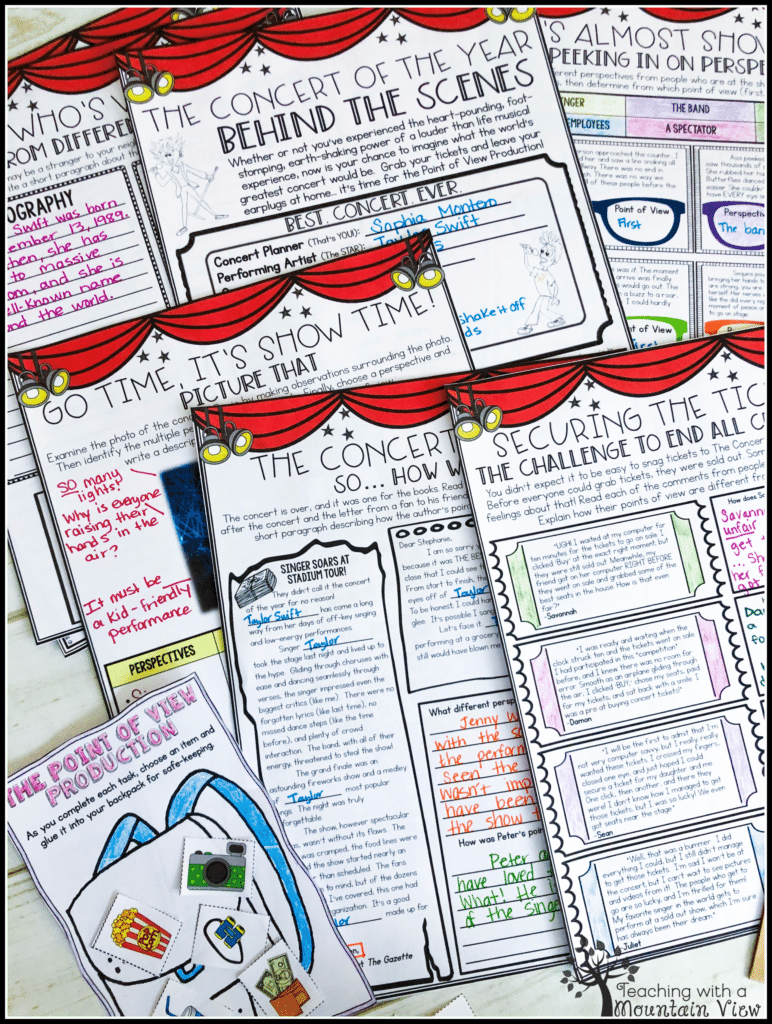
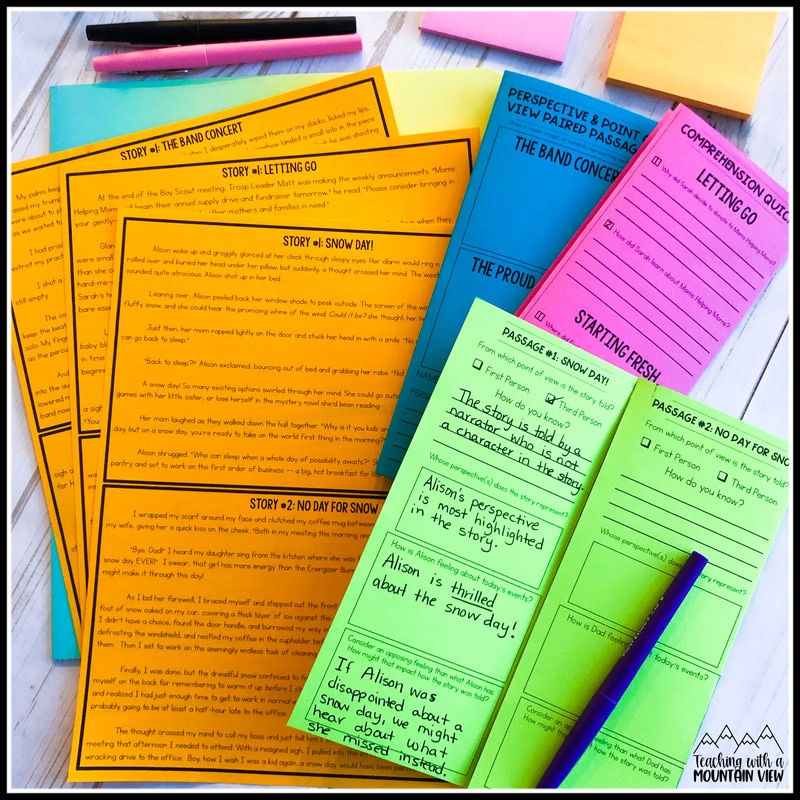
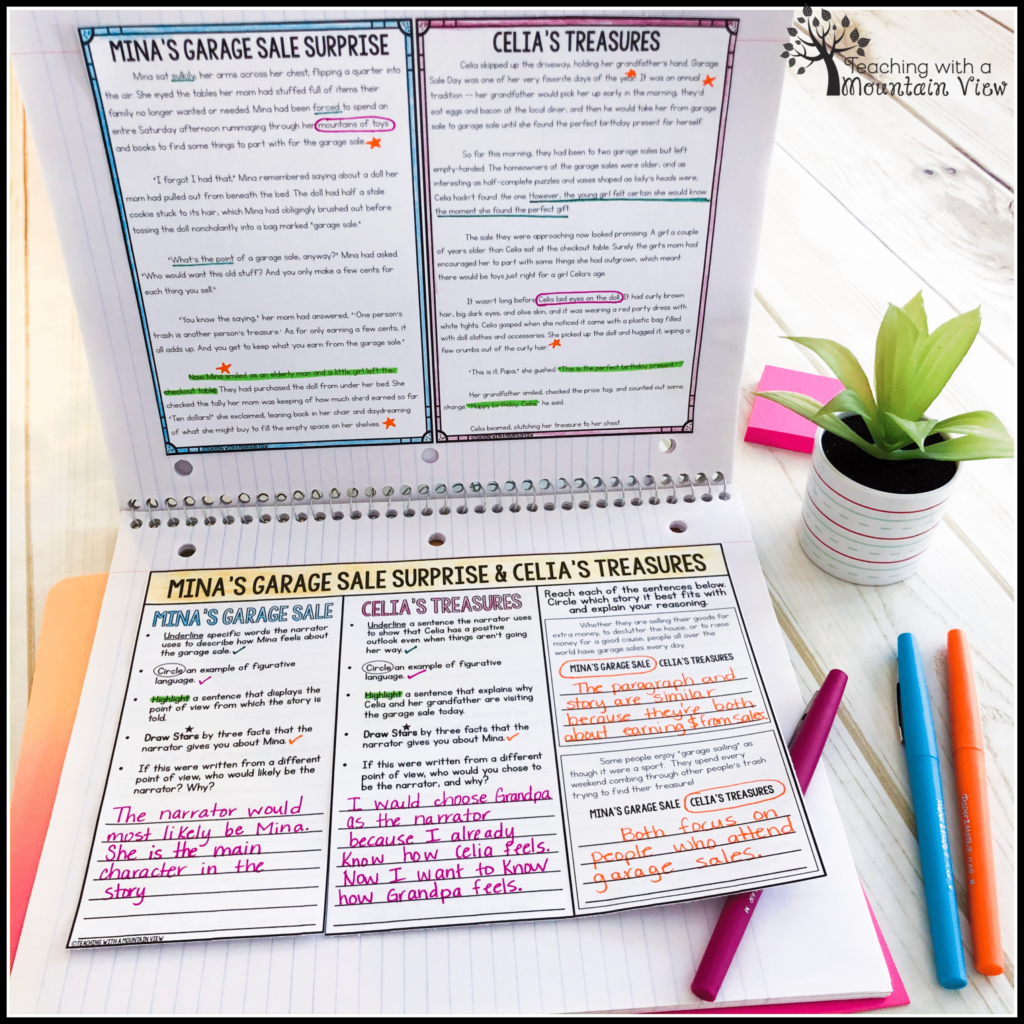
*NEW! If you’re teaching point of view and perspective to 4th-6th graders, I would HIGHLY recommend incorporating paired passages into your teaching of these concepts. I created these in some super fun formats to make it extra engaging for your students. There are point of view and perspective task cards, brochures, and flip books! Click any of the images below to learn more, or view the complete Point of View and Perceptive BUNDLE here.
Assessment
Finally, we are still working on an assessment. The students each selected a “meaty”picture book. They read it, and now they are doing some analysis of the narrator, the point of view that the narrator wrote from, and how the book would be different from a different character’s point of view.
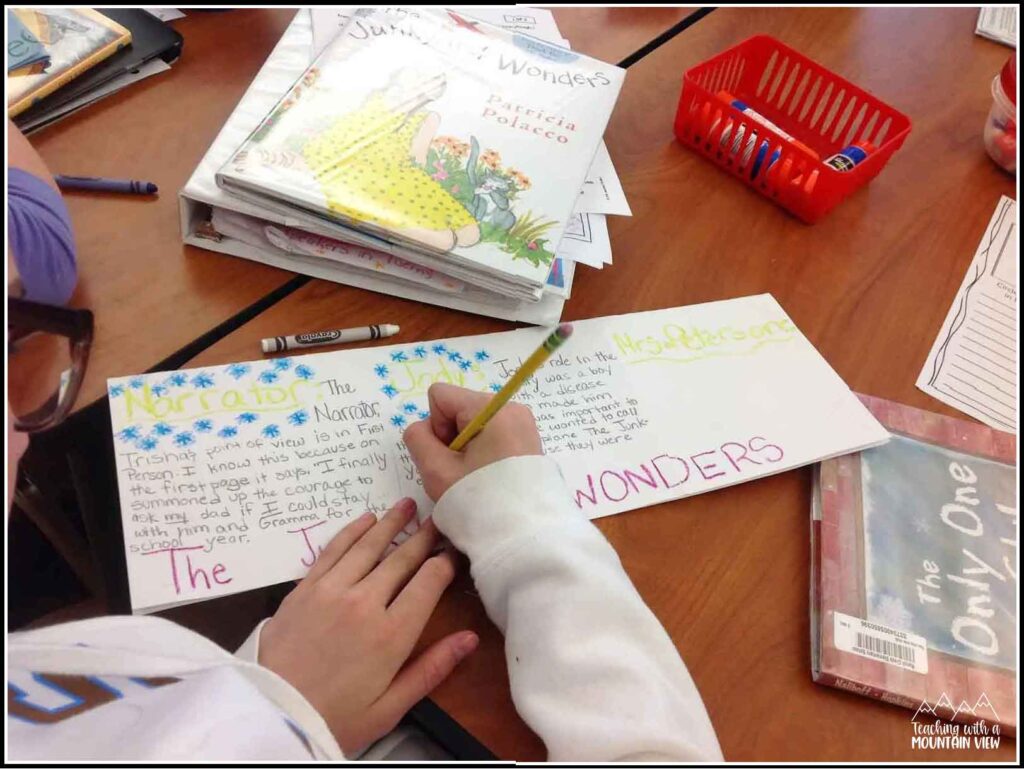
Here is the board with all of the information I gave them to complete their fun flip-flap book. This really got them thinking!
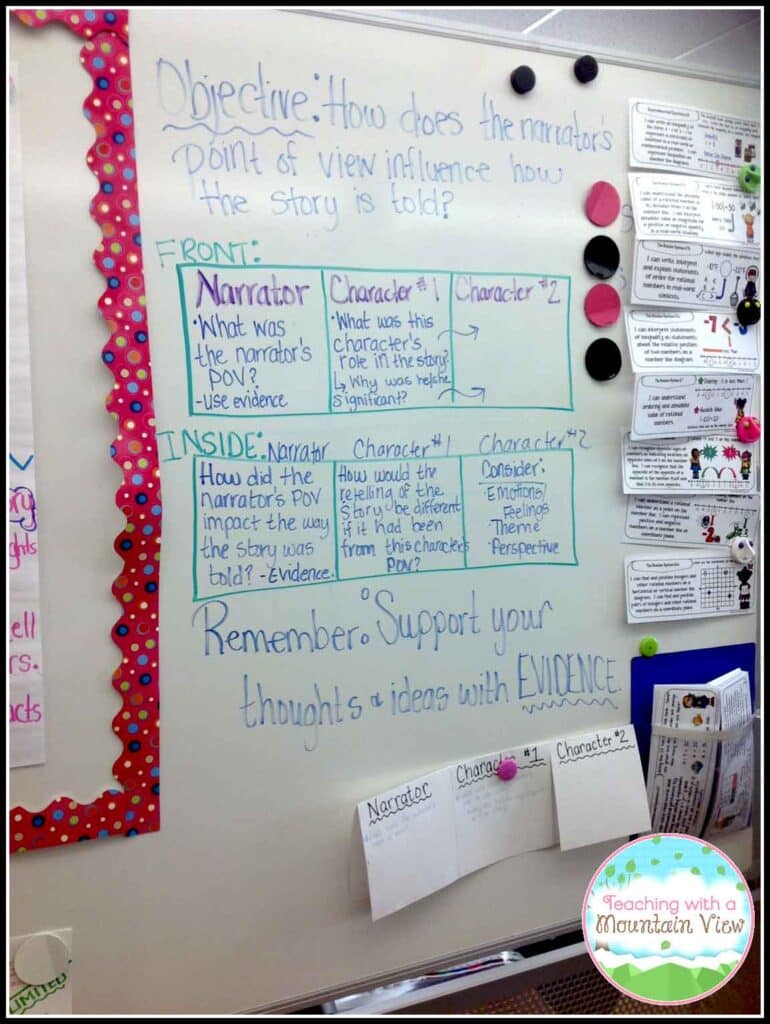
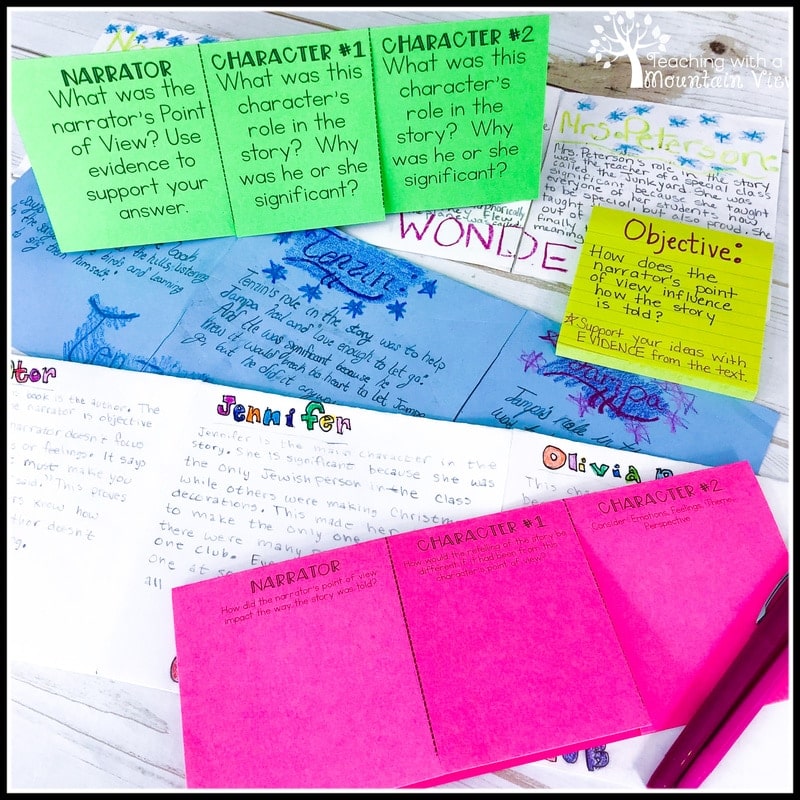
Update: We finished our assessment! The students loved it. Here are a few of the finished products. I also turned my rather ugly board into a printable assignment sheet. There are two options… one is just for reference and one has enough room for students to do some brainstorming on it! For the final products, though, the students used a large piece of construction paper. You can click here to download these free printables (the ones pictured in green and pink).
Mary Montero
I’m so glad you are here. I’m a current gifted and talented teacher in a small town in Colorado, and I’ve been in education since 2009. My passion (other than my family and cookies) is for making teachers’ lives easier and classrooms more engaging.









Because of Mr Terupt is an awesome novel to introduce point of view and perspective. The kids loved the book and we are still using it throughout the year to teach skills.
With the picture writing, did you have the students write what a "story" would be from each point of view? Also, how is the perspective different from the point of view?
Wow, Mary! I just started following your blog and boy, do you have some meaty ideas! This post was fabulous on all the different work you've been working on with Point of View. Thanks for sharing all these great ideas! I'm heading over to check out your task card blog now! 🙂
Kelli
Tales of a Teacher
I look forward to doing this with my students! Thank you SO much! I love how you have multiple lessons planned that give the students responsibility for the skill by the end! 🙂
Thanks for sharing… I especially love the Toy Story clip. Have you ever used the picture book 'Voices in the Park' by Anthony Browne? It's a GREAT way to tie in mood and tone along with perspective and point of view.
These are some really wonderful activities! I love the way you differentiated the Toy Story activity. I did find one tiny error in the end of the perspective worksheets though. In the last question on the last page, it asks how do the different perspectives 'effect' how each story is told. It should actually be 'affect,' as effect is a noun and affect is a verb. I don't want to criticize, just help! Thanks for sharing your wonderful resources!
Where did you find the pictures for the point of view activity with photos!? I can't find any good photos!
You only won't likely find a way to be able to showcase without primary current market this specific e-book towards general public. Get people to enjoy this e-book besides budget will come to you. enable you to extra relating to any sort of making organizations.VipEssayService.com prices is able to provide us quality and on time writing services with guarantee best service from others any providers.
thanks for it. Kizi | Friv
Great lesson! Ok maybe I didn't grasp the concept but I watched the clip three times and I still haven't mastered each character's point of view. This is what I got:
Andy: Ready to leave home and go off to college
Andy's mom: Sad to see her son go off for college
But I couldn't get Woody's point of view. I saw he was in a box labeled "college" so I'm guessing he is going away with Andy. But how does he feel? I was wondering what type of questions did you ask your students after you've watched the clip to get them to think about point of view?
Thanks for your post.
point to point
Great lesson! Ok maybe I didn't grasp the concept but I watched the clip three times and I still haven't mastered each character's point of view.
—
friv4
the nice card, I would love
———–
juegos de autos gratis I jogos de friv
Great information I will tweet to my friends to get them to check it out. keep it up. Thanks for sharing!
If have a long time than visit to friv4 play game for kid or kizi 4 1000 game hot and kizi games game for girl!
Have fun!
The nice card and meaning
kizi games , jogos pou , kizi games , jogos pou
Thanks for the great ideas for point of view. I have an upcoming observation and plan to use your wonderful ideas. The students will love them!
I used the picture Point of View lesson with my kids and they loved it! They had a lot of fun reading the different POVs once they got their original picture back. I had my students analyze how the POV affected the tone in the story. Thanks for the great idea!
This comment has been removed by the author.
This comment has been removed by a blog administrator.
Signature:
descargar facebook gratis
descargar facebook
descargar facebook plus
descarga facebook
This is a very nice method of teaching young students in the primary school. It will generate more curiosity and an eagerness to learn in them. They will take keen interest in studies. I was searching for Online Dissertation Help and came across this post.
I am going to use your idea of having the students hold up one finger for first-person point of view idea.
Mica
Customer recommendations for Seattle SEO info
I would like to thank you for the efforts you have made in writing this article.
Signature:
facebook entrar iniciar sesion gratis – Sitio Oficial iniciado sesión en Facebook lengua española. facebook entrar rápido, facebook iniciar sesion en tu cuenta de entrar facebook
In this article I saw an interesting and innovative approach to the study process and this is exactly what need for our education. Students must have more live and interactive lessons and task and such boring tasks as essay writing you can trust specialists like essaymama or others.
I also feel normal is just a little surprised descargar whatsapp plus gratis fast , use app baixar whatsapp plus very comfortable , play descargar mobogenie games hot , descargar whatsapp plus gratis , baixar whatsapp plus , descargar mobogenie
gucci bags
louis vuitton handbags
gucci outlet online
oakley outlet
polo ralph lauren
louis vuitton
jordan retro 8
coach outlet
kate spade outlet
michael kors outlet
jordan retro 3
ray ban wayfarer
coach outlet stores online
mont blanc legend
cheap jerseys
gucci outlet online
hollister kids
coach factory outlet
louis vuitton outlet
abercrombie store
michael kors outlet
ray ban glasses
michael kors purse
ray ban outlet store
michael kors outlet
fitflop
christian louboutin outlet
soccer jerseys
louis vuitton outlet
coach outlet store online
jordan 13s
coach outlet
coach outlet online
coach outlet
retro jordan
prada sunglasses
20150626xiong
Teaching is great. While learning something we become more educated, cultural, polite and broaden our outlook.
P.S. where to buy essays online – essaywritingstore.com.
Mario Games – Play top free online game for kids funny.!
Posts shared useful information and meaningful life, I'm glad to be reading this article and hope to soon learn the next article. thank you
http://cekkesehatan.blog.fc2.com
http://bacakesehatan.drupalgardens.com
insanity workout
the north face outlet
converse shoes
air jordan 11
louis vuitton handbags
ugg boots
tory burch outlet online
adidas shoes
michael kors outlet
washington redskins jerseys
lacoste outlet
coach outlet online
discount oakley sunglasses, http://www.oakleysunglassesdiscount.us.com
abercrombie and fitch
pittsburgh steelers jersey
ugg boots, http://www.uggboot.com.co
nike air max uk
michael kors outlet
gucci handbags
lululemon outlet
the north face jackets
cheap oakley sunglasses
oakley sunglasses wholesale, http://www.oakleysunglasseswholesale.in.net
ugg boots, http://www.uggbootsclearance.in.net
mulberry outlet
herve leger
toms outlet
cheap ugg boots, http://www.cheapuggboots.net.co
burberry outlet
cheap toms
pandora
adidas outlet
ralph lauren polo shirts
cheap soccer jerseys
true religion outlet
true religion outlet, http://www.truereligionjean.in.net
michael kors outlet, http://www.michaelkorsoutlet-store.us.com
louis vuitton outlet
0811maoqiuyun
Little did you know when you wrote this the "Andy's Coming!" Challenge would become so viral. Thank you for this resource… I loved it when you first posted it and I searched it out knowing my kids would get a kick out of it since the Andy's Coming Challenge has become so popular among them 😀