


Teacher Toolbox Organizer…At last!
By Mary Montero
Share This Post:
Tap, Tap, Tap…Is this thing on?
I took quite the blogging hiatus at the beginning of summer. Our family spent a week in Disney World, and I have been soaking up all the time I can with my kids. When I realized it was mid-June (and then late June), I decided to kick it back into gear! There are so many things I want to get ready this summer, and there is so little time in the day. I have a couple of DIY projects going on right now, but I was too excited about this one to wait.
I’m been eyeing these teacher toolbox organizers since they started popping up around Pinterest last year. This morning, I decided that today was the day! (Full Disclaimer: I definitely did not come up with this idea. It is all over the internet on fabulous teacher blogs. I believe the original creator is Create.Teach.Share.) I scoured Pinterest to make sure I got everything I needed and decided what exactly I wanted to do. Did you notice the 5+ different versions I pinned this morning? If not, start following my Classroom Organization board!
We went to Lowe’s, and I got two different organizers. I share a classroom (more on that later), but I have a small office of my own where I have a desk and files, primarily so that I can conduct our Talented & Gifted testing in a nice, quite place. Last year was the first year I had two different “homes,” and it was so hard going back and forth between the two. So, I decided I needed two different organizers–one for my office, and one for the classroom. It was a total necessity, right? Right.
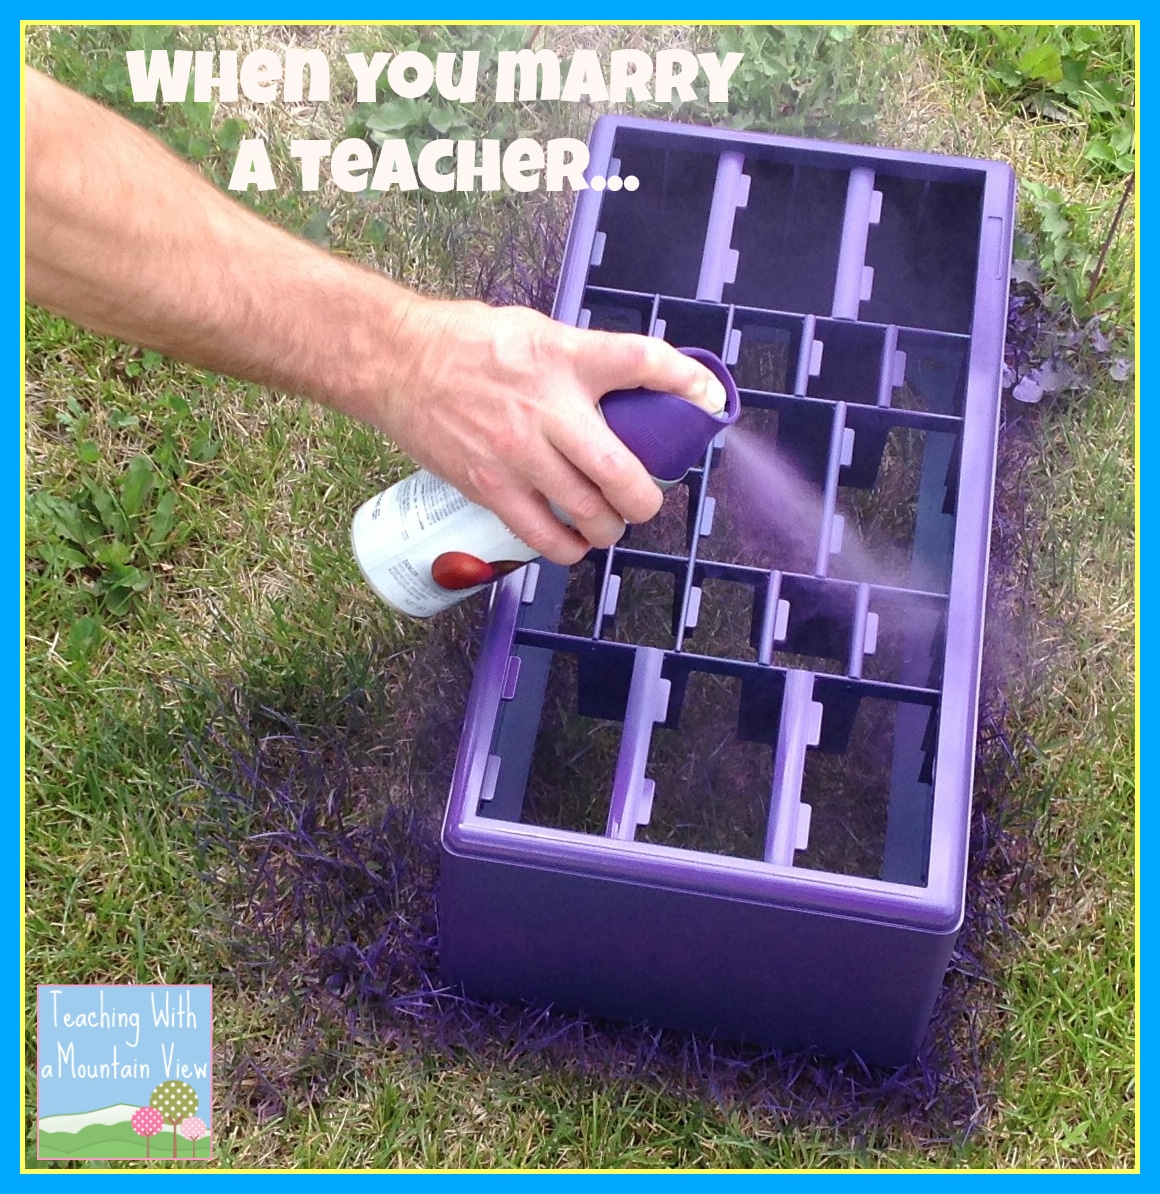
They started out dark blue, which just wasn’t going to go with the labels I had in mind, so I picked up a couple cans of spray paint, and before I knew it, my sweet hubby was transforming the dark blue into light blue (“wait…this is already blue!”) and purple goodness.
Wedding vows should always be a little bit different when marrying a teacher. They might include words like “Pinterest Project,” or “laminate,” or “cutting,” or “heavy lifting.” What would I do without him?
Anyhow…then, I got busy making my labels. The original designer of the toolbox is Create.Teach.Share, and she uses scrapbook paper and labels (which she provides on her wonderful, lovely blog.) I didn’t have the patience to cut out multiple things, so I just used some Ashley Hughes argyle digital paper and Zip-A-Dee-Doo-Dah‘s frames and threw some KG Fonts on, and had myself some bright labels. You can have them for free by clicking the link below.
 |
| Click here to snag the labels for free. |
The designing and making of the labels took me longer than anything else. This was a super quick project! I printed the labels out on card stock and then stuck them into the drawers (I used tape after reading all the different ways people did it. You can’t see it, and it took mere seconds to assemble each one.)
That’s it! Done!

Then I stared at it, and really, really wanted to go to Office Max to get some new supplies…but I resisted. I know the messy drawers full of paper clips and staplers are still waiting for me back at school, and I’ll just have to wait to organize them into these beauties!


If you haven’t already made these, I highly recommend it. Super easy, super cute, and I know it’s going to be a great organization tool.
I’ll be back in the next couple of days with my first Washi Tape project!
Mary Montero
I’m so glad you are here. I’m a current gifted and talented teacher in a small town in Colorado, and I’ve been in education since 2009. My passion (other than my family and cookies) is for making teachers’ lives easier and classrooms more engaging.


Oh I LOVE this! I've been dying to start this project! Thanks for the freebie!
Jenny
Looney for Third
I'm loving this one! I really hope to be back in the classroom this year so I have an excuse for one of these!
Jennifer Smith-Sloane
4mulaFun
LOVE these! I am definitely going to spruce mine up with your adorable labels.
Your hubby story cracked me up- my husband can definitely relate 🙂 Have you seen the t-shirt floating around Pinterest that says "Real Men Marry Teachers"? We should invest in those for when they have to do these kinds of projects 😉
Thanks so much for sharing!!
~Stephanie
3rd Grade Thoughts
Thank you so much for the FREE labels! I too have pinned 5+ teacher tool boxes. 🙂 I am so excited to get started on this!!
I think I may take my homemade (not so cute) labels OFF of my cabinet and add yours! =) THANKS!
What kind if paint did he use? Any special instructions? Mine is black, I want to paint it…..nervous!!!
Nice article,well written and composed,this type of tool boxes take time and examine the patience,but it give many advantages in long term,this type of time spending and patience is the part of long term planning to get benefits from it, this portion of time utilize for organizer benefit by saving the time for a long period of time.Thanks for sharing.F4U ONLINE COURSES
I love your comments about your husband. Mine was laughing. I became a teacher later in life and my best friend from college was also "older". We tell our husbands that they are the founding members of the HOTTIES club. Husbands of teachers in education. Going to google that Real Men Marry Teachers t-shirt. Hubby says he wants one.
Getting my teacher toolbox put together today!
Check out my blog at http://bloomingin4thgrade.blogspot.com/
Thank you so much for sharing these labels. I painted my toolbox today and when I saw your labels I knew they were the ones I wanted! I'm so excited!!!
Thank you very much for this great idea. I have a problem, I download without any problem but when I go to print them, I can do it. Could you help me?
Thank you
Thank you for sharing. They look great! I could be a total idiot but I can't figure out how to use the blank templates. When I download, it goes to a pdf which doesn't let you edit. There are just a couple additional labels I'd like to make and a few that I'd like on a small label instead of a large one. Any help would be appreciated. thanks
Thank you! I actually have been pondering shopping for this program however could not conjure my mind however. therefore glad to visualize that you simply truly use the program to begin your PO business and is successful!
cricket-organizer
Super Cute! Thank you!! I am changing classrooms and grade level, so this will be perfect!!
I just bought the toolbox at the end of school but hadn't labeled the drawers! Thank you for helping out with the freebie 🙂
What are the sizes of the your boxes? I want to get one but want to make sure I get the right size for your cute labels. 🙂 Thanks!
Steph
Simple Insights
Good post. I absolutely love this site. Stick with it!
Look into my blog postcardboard boxes,moving boxes
Great post,Thanks for providing us this great knowledge,Keep it up.
A good blog.
Visit to friv 4 than play games2girls and play game kids games online ! have fun!
gucci bags
oakley frogskins
hollister clothing store
fitflop
nba jerseys
pandora jewelry
pandora rings
jordan 11
michael kors
ray ban aviators
louis vuitton handbags
coach factory online
jordan retro 11
ray ban wayfarer
jordan retro 11
true religion outlet
michael kors outlet
air max 2015
abercrombie outlet
abercrombie
mont blanc pens
coco chanel
michael kors outlet
jeremy scott adidas
coach factory outlet
abercrombie & fitch
coach outlet store online
jordan 11 retro
celine handbags
cheap jerseys wholesale
fitflop outlet
celine bag
louis vuitton outlet
louis vuitton handbags
retro 11
20150626xiong
herve leger dresses
calvin klein outlet
ray ban sunglasses
michael kors outlet online, http://www.michaelkorsoutletonlinstore.us.com
fivefingers shoes
coach outlet
michael kors outlet
mulberry uk
air jordan 4
cheap nfl jerseys
tory burch shoes
burberry outlet, http://www.burberryoutletonlinestore.com.co
true religion outlet, http://www.truereligionjeansoutlet.com
ray ban sunglasses
polo ralph lauren outlet
kobe shoes
cheap oakley sunglasses
cheap snapbacks
toms shoes
kate spade outlet
lebron james shoes
louis vuitton outlet
fitflop shoes
abercrombie and fitch
ray ban sunglasses, http://www.raybansunglass.co.uk
valentino shoes
louis vuitton handbags
michael kors handbags
true religion canada, http://www.truereligionjeanscanada.com
instyler ionic styler
manchester united jersey
swarovski uk
ray ban uk, http://www.raybansunglass.co.uk
ray-ban sunglasses, http://www.ray-bansunglassess.in.net
longchamp handbags
oakley outlet
chanel 2.55
0811maoqiuyun