Analyzing Text Features in Upper Elementary
By Mary Montero
Share This Post:
Captions, diagrams, italics, OH MY! I can’t wait to chat with you all about teaching text features to your students.
The standards that hit text features call for students to know and use various text features (e.g., captions, bold print, subheadings, glossaries, indexes, electronic menus, icons) to locate key facts or information in a text efficiently.
Teaching text features is one of my absolute favorite units because kids have interacted with them ALL THEIR LIVES without even realizing it, so when we have the opportunity to expose them to the purpose behind these text features, it truly becomes a game-changing tool in their reading toolbox, not to mention it’s an incredibly engaging unit even for the most anti-nonfiction students.
Introducing Text Features
I’m not a huge proponent of the “give and get,” so I’m not a fan of introducing text features by giving my students exact definitions and examples. Instead, we do a quick magazine walk. This is a great time to use all those Scholastic News magazines you may have amassed! I like to find a full-page or two spread about a high-interest topic that includes a ton of them, and I tell students they have 15-20 minutes to give me as much information as possible about the topic. Then we talk about exactly WHERE they found that information within the text. Inevitably, between all of the students, they will likely have used all of the text features to gather information, whether or not they know it.
Once they show me where they have found the information, we cut it out of the magazine, especially if it’s using a text feature! We collect all of our clippings, and the next day, I lay them out and ask students to tell me about each item and to describe what information they got from that particular feature. I use these to start our anchor chart, where we slowly introduce students to all the different text features.
This is a fantastic opportunity to create an interactive anchor chart with your students, similar to the one pictured here. This isn’t pretty, but it’s REAL! This was created with kids as we progressed through our unit, which means they watched me glue the features on, write the labels for them, etc. They have true ownership over this anchor chart, which is so much more impactful than just handing them a paper with the definition on it. We can also add to it as we go, which they LOVE.
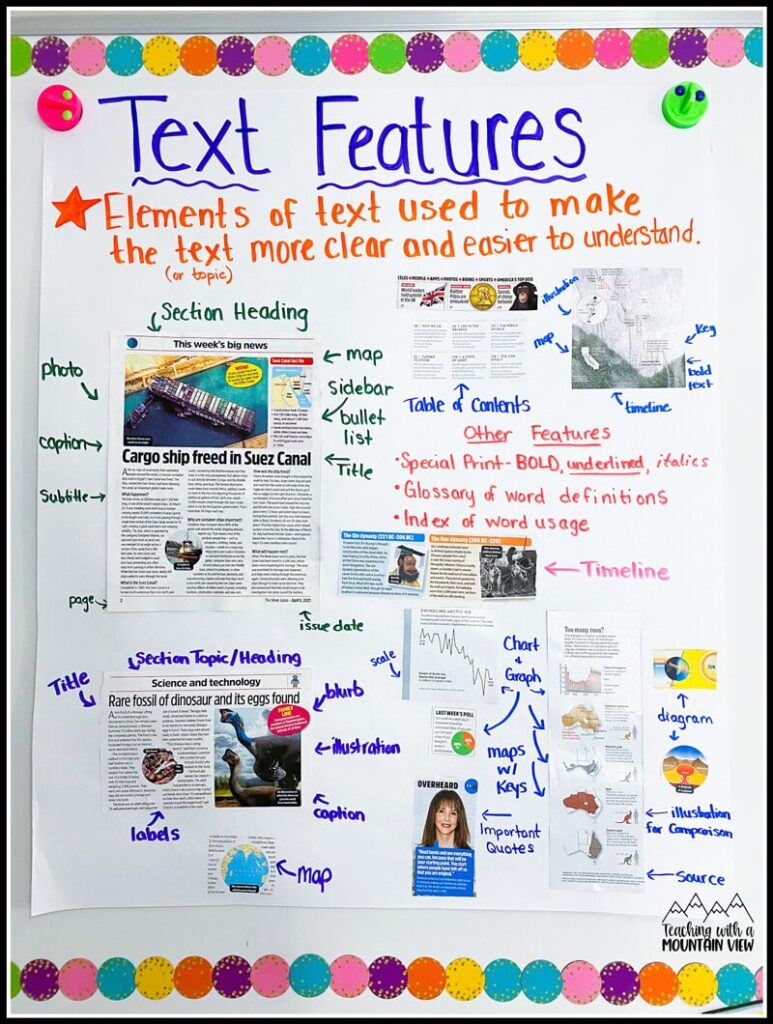
Now, there is so much more to teaching text features than simply having students identify the features. While that is important, that falls pretty low on Bloom’s hierarchy. So today, I’m going to focus more on how you can extend their thinking and move beyond the basics to a deeper level of understanding, which is what we are always looking for, right?
Analyzing Text Features
I always joke that there are two types of kids. ONE type of student reads only the visual text features. They gravitate to visual models and stray away from big blocks of texts. My goal is to make every student want to read the text in its entirety AND use all of the features to come away with an even deeper understanding of the text. Here are several different ways you can teach students to go beyond identifying text structures:
Read Without the Visuals
Now, not every text feature is a visual aid, particularly when it comes to bolded or italicized words. However, one of my favorite activities to drive home the importance of these features is to eliminate the text features (except for things like bold and italics words!) from a section of text and have the students read it. I just cover them up with Post-Its. We go through together and we read the article (without the text features of course). We make a list of all the amazing information we learned about that topic. Then I remove the Post Its covering the features, and we analyze the information there. We list out that information in a different color and discuss how important those features are to our understanding. It’s really a lightbulb moment for students when they realize just how much information is given to them with text features.
An Independent Project
At this point, I love for students to start creating their own samples in a very similar manner. I tell them to start by writing a text that gives a quick description of themselves (because who or what do they know better than themselves? Remember, we don’t want the task to be research-based, yet, so giving them a very familiar topic is super important). THEN it’s time to add the text features! I give them a whole bunch of options to add to their page… map of where they were born, draw a picture of their favorite vacation with a caption, make a timeline of events in their lives, etc. It’s eye-opening when they realize just how much more information those features give.
What’s the Purpose of Text Features?
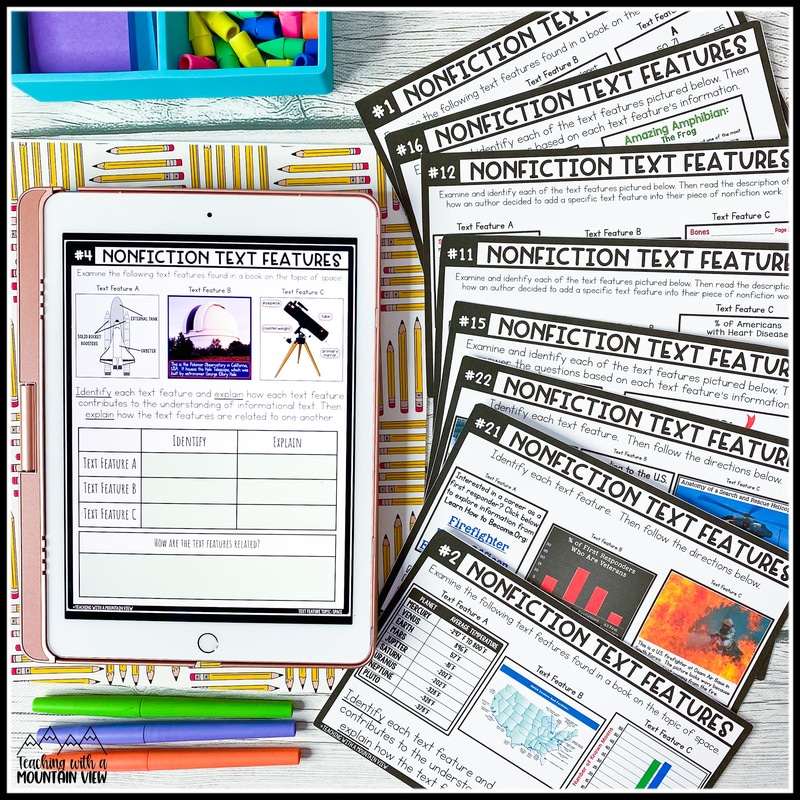
Once we’ve gotten to a point where students feel comfortable with several features and the knowledge that they give more information to the reader, it’s time to analyze them, and I mean really analyze them! No more describing what information they give, but describing WHY the author included it, analyzing best-fit features for certain scenarios and more. Even though I’m a major proponent of using authentic texts, I struggled to use authentic texts for this activity, which meant I needed to come up with something to use to teach it! I designed a resource that hit four major elements of analyzing text features. This process usually takes me several days to work through, and I typically do it in small groups with students.
First, we focus on identifying, explaining, and comparing text features.
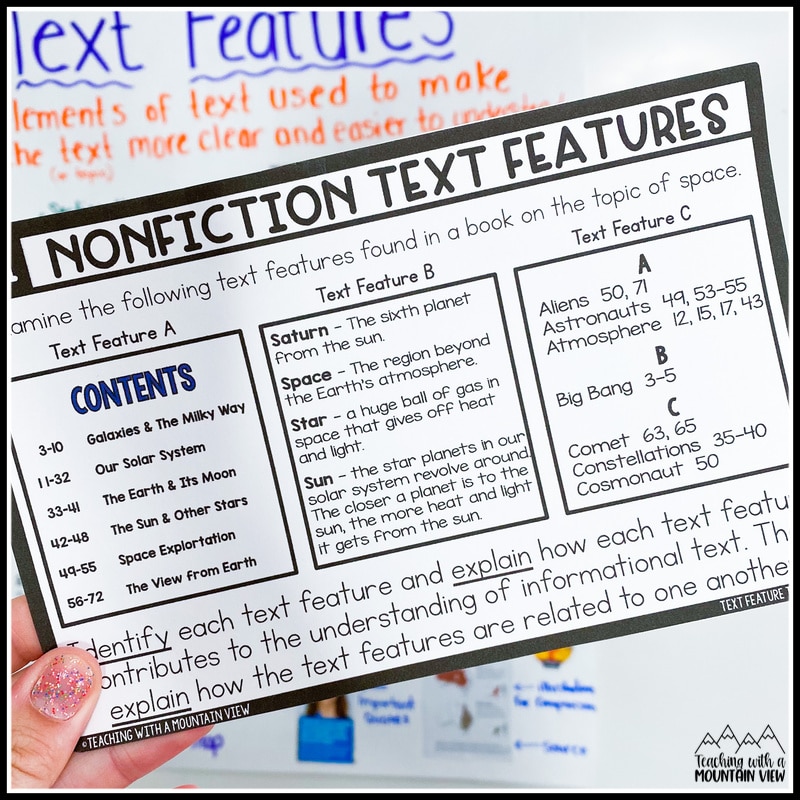
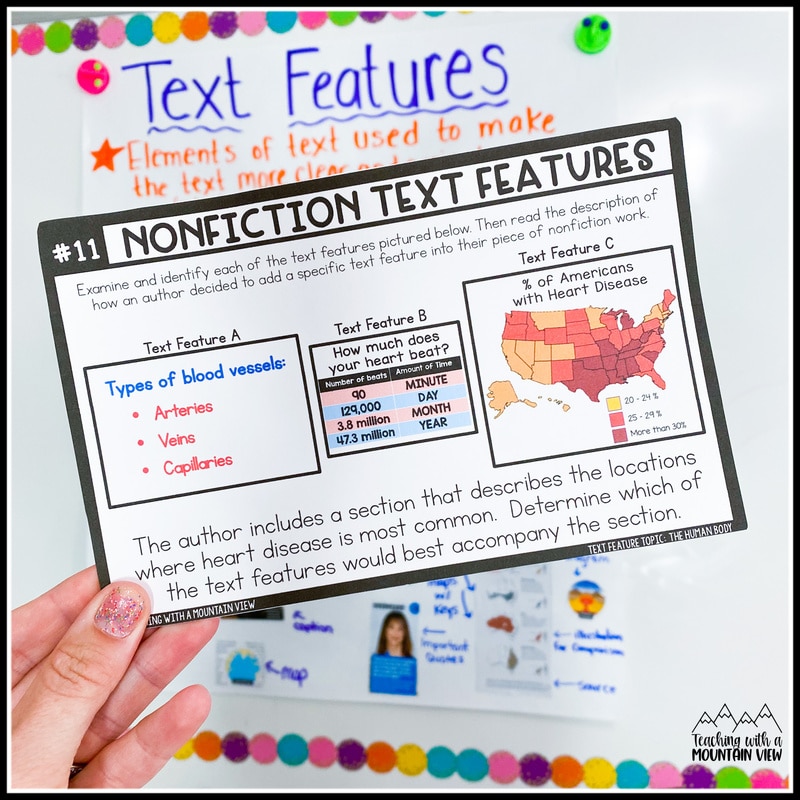
Next, we focus on identifying and selecting the best-fit text feature for a specific purpose.
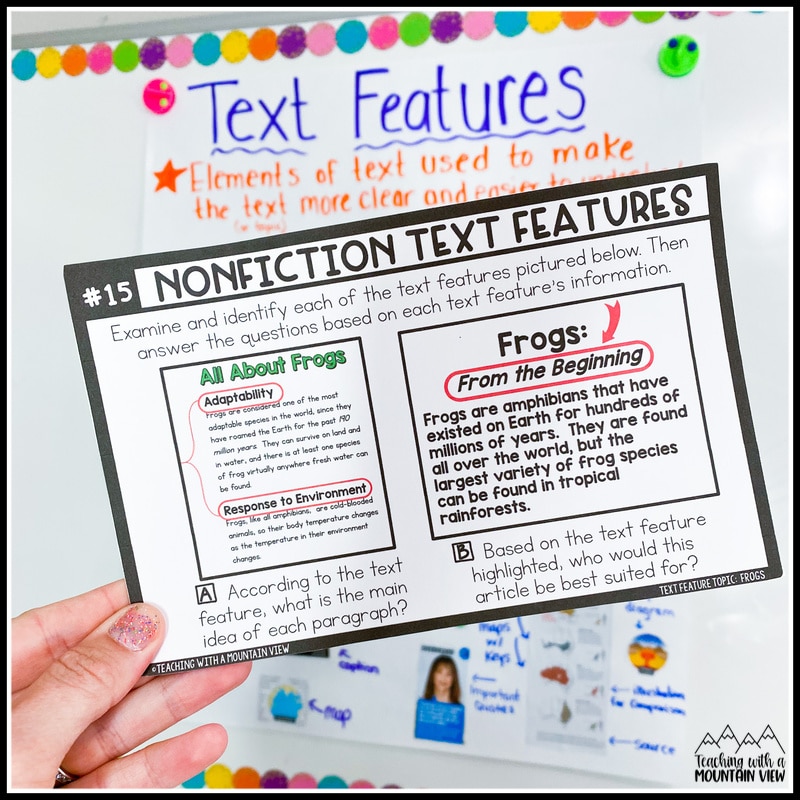
Third, the focus is on identifying the text feature and answering questions based on them.
Finally, we focus on looking at multiple text features and considering which ones fit specific definitions.
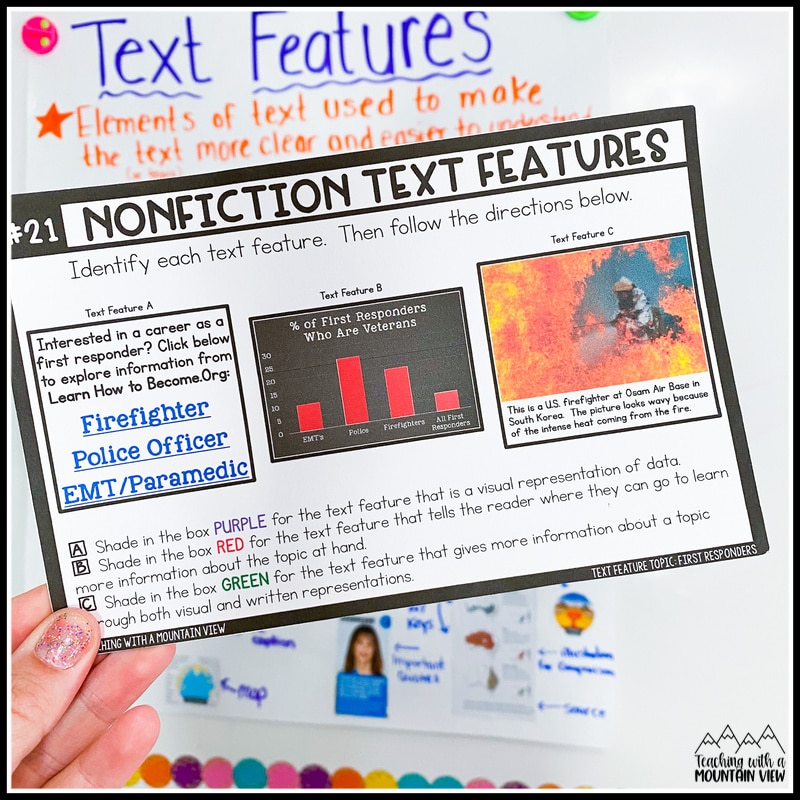
By the time we are done with these tasks, students feel like bonafide experts! They see them everywhere in their texts, and they actively seek them out. I love to incorporate the rest of the text features task cards into small groups and literacy rotations!
Text Features Assessment
The ultimate assessment for me is not for students to be able to identify text features. We’ve already done a ton of that! The ultimate assessment for me is that students can identify the perfect text feature to add to a spread of text to serve a specific purpose. I’m including the quick assessment here that I use with my students, as well as four task cards you need to teach the lesson.
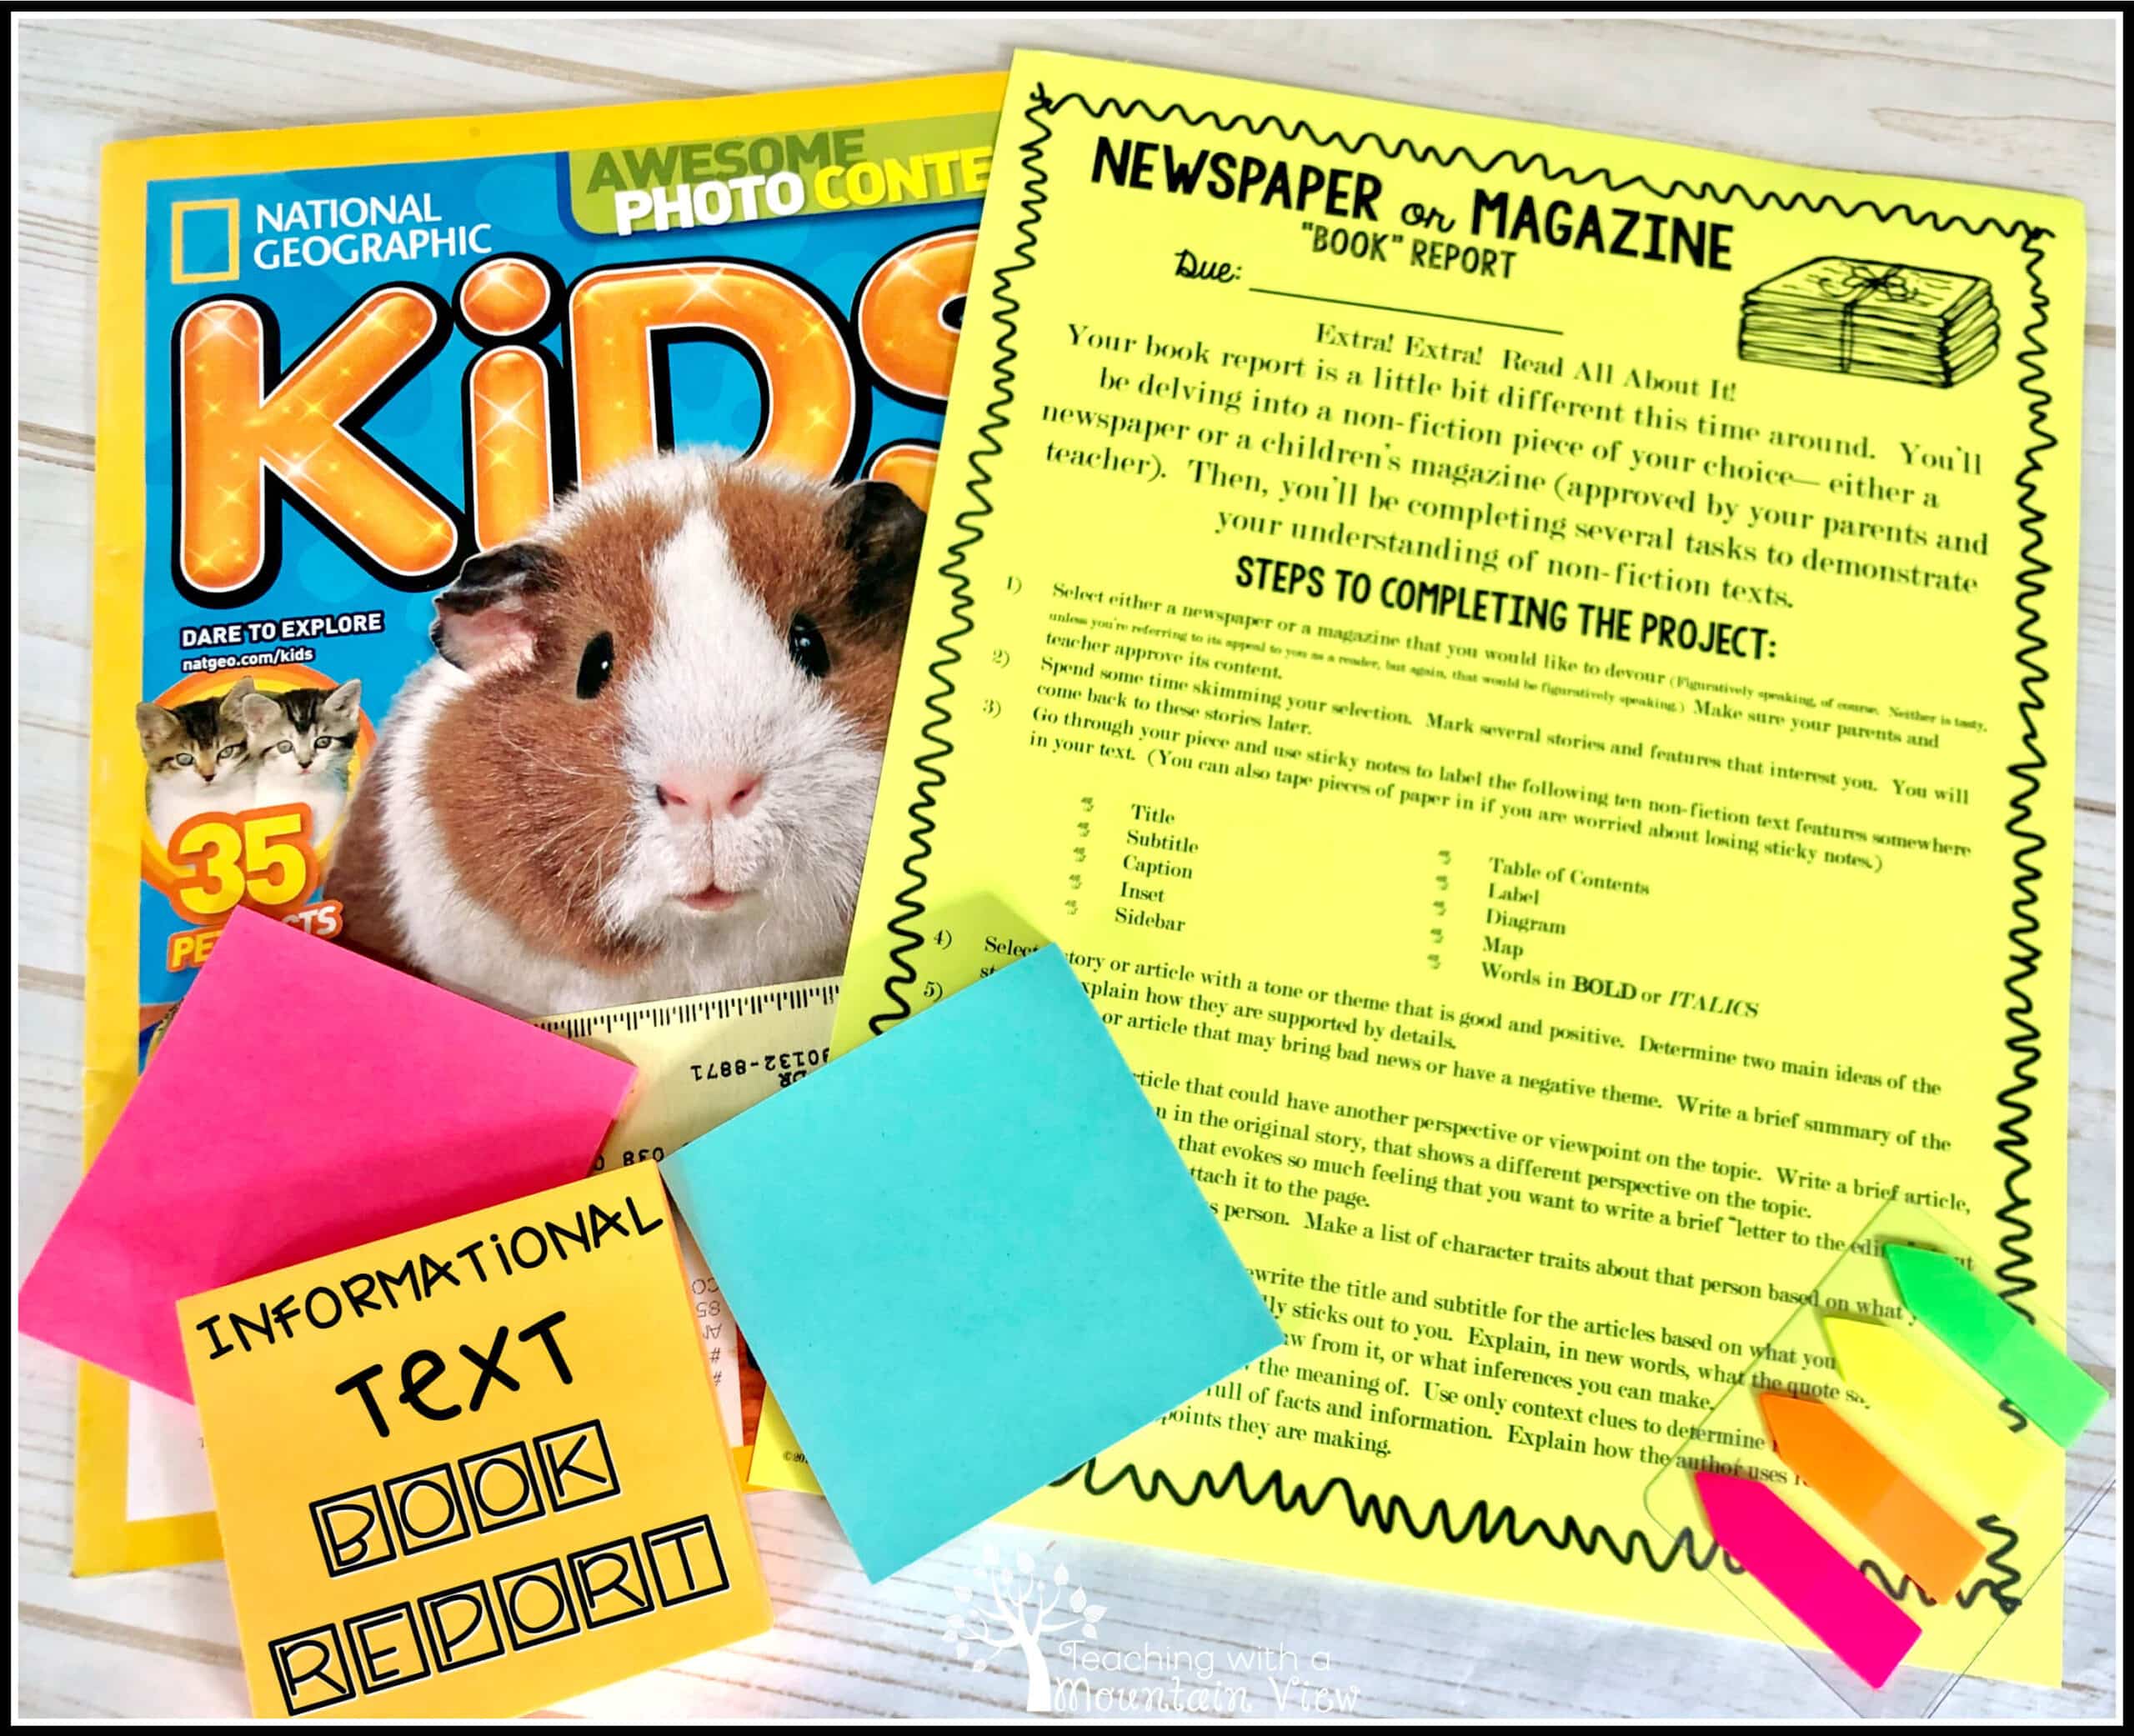
One more quick tip! If you are finishing a unit on text features and want to extend the learning even more, have students do a magazine book report! I always did this at the end of a unit as an at-home project, but you can definitely do it in the classroom as well. You can learn more and download the free instructions in this post.
Mary Montero
I’m so glad you are here. I’m a current gifted and talented teacher in a small town in Colorado, and I’ve been in education since 2009. My passion (other than my family and cookies) is for making teachers’ lives easier and classrooms more engaging.

